Face-Face Blending
Select the body to be blended. Indicate the two faces to be blended. These are the first two faces that the rolling ball will contact. It is important to indicate the faces at points fairly close to one another and in the vicinity of the ball center. This helps to determine the appropriate starting point for the rolling ball blend, as there may be several solutions.
It is possible to blend between two faces that do not share an edge (a blend between two distant faces). In any case, the faces must belong to the same body. When attempting to blend between faces belonging to different bodies, simply unite the bodies together first with Combine Disjoint Bodies or Unite Two Bodies, then apply the blend. After the faces have been selected, if roll-on instructions are to be placed on edges or vertices, then indicate the edges and vertices.
Press ENTER to complete the blend.
The following examples illustrate applications of face-face blending with and without roll-on instructions.
Face-Face Example 1:
|
|
|
|
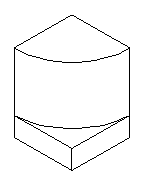
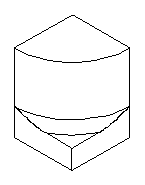
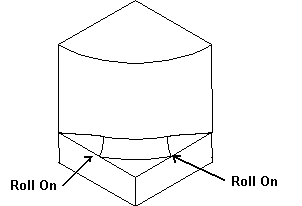
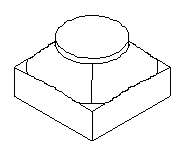
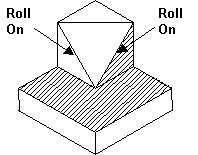
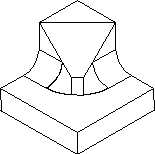
After blending with .4 inch blend and no roll-on instruction. The blend is end-capped by the vertical walls After blending with roll-on instructions on two edges, the ball rolls onto the indicated edges, preserving the edges, and the blend is feathered down to a point as the ball rolls off the edge. |
|
Face-Face Example 2:
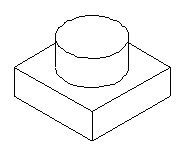
This example illustrates how a blend can be constructed with a larger radius than can normally fit between the cylinder and the block.
|
|
|
A .8 inch radius blend with no roll-on instructions. The example also illustrates "Side capping" of the blend face. The edges were modified by intersecting the vertical walls with the blend.
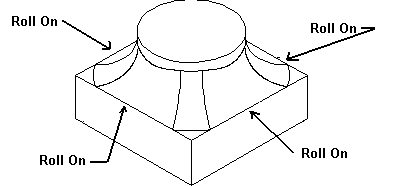
Same blend with roll-on instructions placed on the horizontal edges. The ball rolls onto the edges producing a different type of side capping, and preserves the edges.
Face-Face Example 3:
The faces selected for blending are shaded. This example shows a blend rolling over two sharp edges. Note how the vertex is swallowed by the blend.
|
|
|
.8 inch blend while rolling onto indicated edges.
