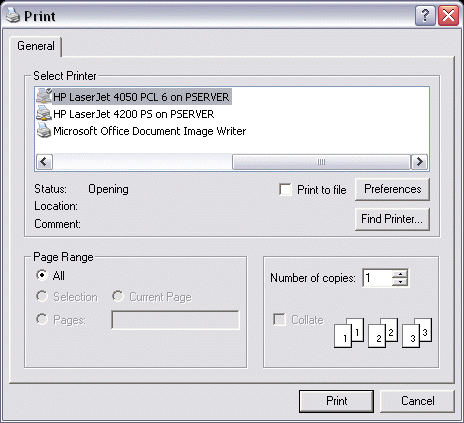
The Print function is used to send a graphical image of a part to an installed printer, plotter, or to a file. You should configure your printer or plotter through Windows before printing. To print a part, follow the steps below:
Using the Function:
-
Select Print from the File Menu. The Print dialog box appears. Note that the appearance of this dialog will vary depending upon the Operating System you are using.

-
Under Print Range, the All option will always be enabled.
-
Select number of copies, and whether to collate copies or print to file.
-
Click OK.
-
Change any options in the Print/Plot Setup dialog box.
-
Click OK.
-
Place the paper border box around the area you want to print, or choose SKIP to automatically center the paper box to the area to print.
NOTE: To print the contents of the Level List display window, make sure it is active (by clicking on it) before selecting File>Print.