Helix

The XForm>Helix functions can be used to rotate geometry about a specified axis by a given number of degrees and then translates the geometry by a specified length, parallel to the axis. When using these functions, it will be important to keep the following in mind:
-
A positive rotation angle rotates the selected entities counterclockwise from the point of view of the person to whom rotational axis points.
-
An axis defined by two positions pointing from the first to the second.
-
An axis defined by one position pointing in the direction of the construction view's Z axis.

Using the Functions:
-
Select Helix from the Transform Menu.
-
Select Move, Copy, or Join (see icons below) from the submenu.
 Helix>Move
 Helix>Copy
 Helix>Join
-
If Join is used, you must indicate whether to use Lines or Splines as joining entities.
-
Select the entities you intend to transform.
-
If either Copy or Join is selected, you must enter the number of copies to be created.
-
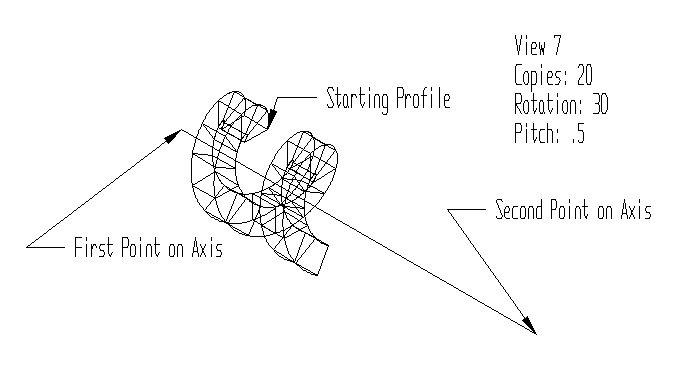
Indicate the first point on the rotational axis.
-
Indicate the second point on the rotational axis, or select ACCEPT/OK to make the axis normal to the construction plane.
-
Enter the rotation angle.
Note: degree value x number of copies = degree result. Example: 90 (sample degree value) x 2 (number of copies) = 180 (degrees) -
Enter the pitch value in number of turns per unit length (the higher the indicated value, the more rotations within a defined unit of length).
The length of the translation vector used on the selected entities is the rotation angle, divided by 360 degrees, divided by the pitch. (a/360) /p.
a = rotation angl
360 = degrees
p = pitch value
Pitch is the distance between the same point on two successive turns of a helix, (distance/turn). XForm-Helix defines Pitch as the number of turns/unit distance, or 1/pitch. -
The transformation is completed.

Above > An example of Helical>Join, using the Splines option