Creating a Cone
Follow the steps below when creating a primitive cone.
Using the Function:
-
Select Cone from the Create>Primitive Solid submenu. The Create Cone dialog then appears.
-
Indicate the settings by which the cone will be created through the dialog, and select OK when done. Dynamic creation listed below.
-
Select the base center position through the following menu:
-
The cone is created as instructed, and at the position you had indicated.
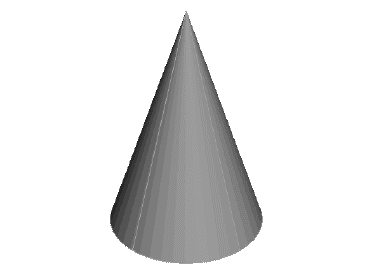
Above > Cone created using Key-In default settings (View 7)
Dynamic Creation
Step 1. Configure dialog, uncheck Minor Radius if not needed. Choose anchor with position menu options and define major radius.
NOTE: Color - Preselection mode, cone not yet defined:
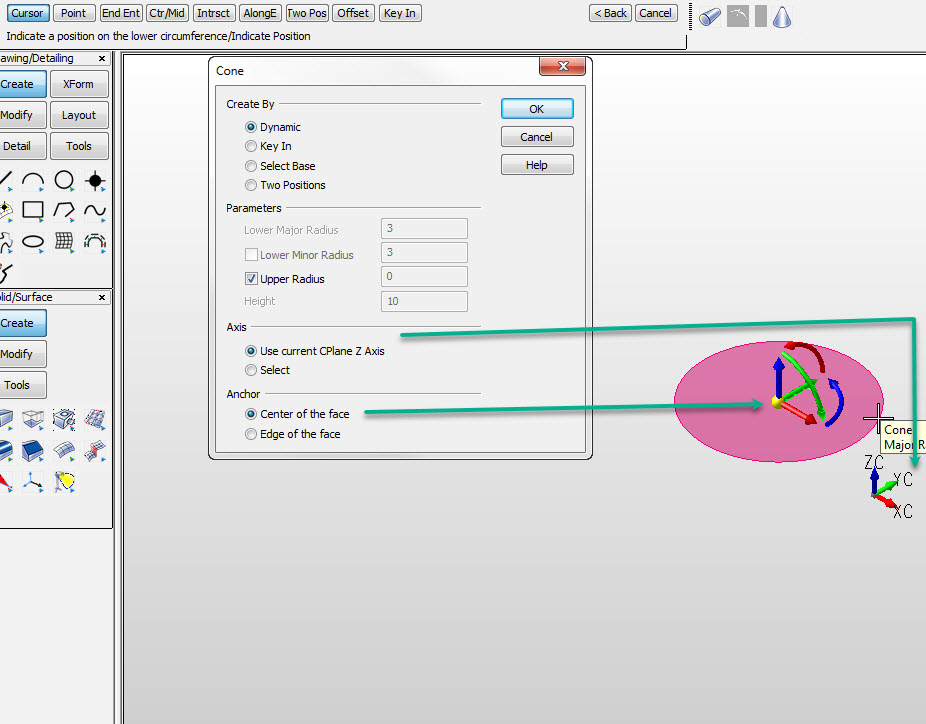
NOTE: Color - Preselection mode, cone not yet defined:

Step 2. Postion Z height. Color indicates still in pre-selection. Choose Backup to repeat step 1:
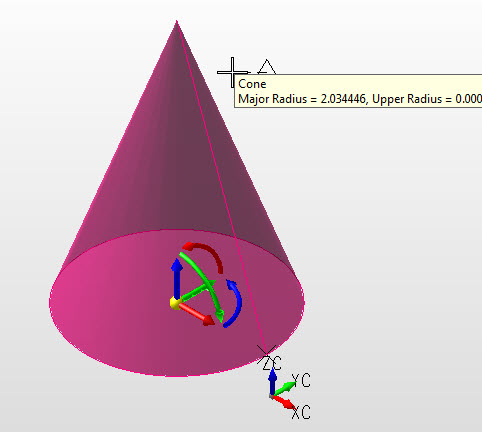

Step 3. Postion minor radius if previously checked on in dialog. Color indicates pre-selection, Backup to repeat step 2.:
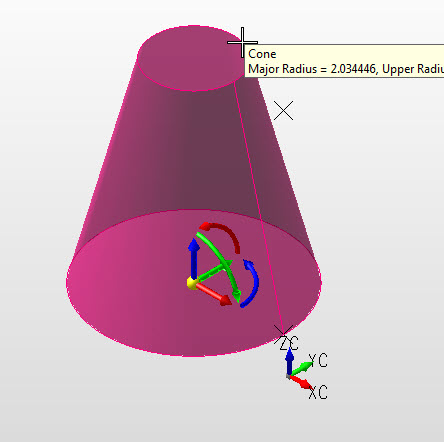

Step 4. Major, minor radius and height defined, secondary set of DynaHandles for further edit.
NOTE: Color is system color indicates in edit state. Choose OK to accept or Backup to create another cone.:
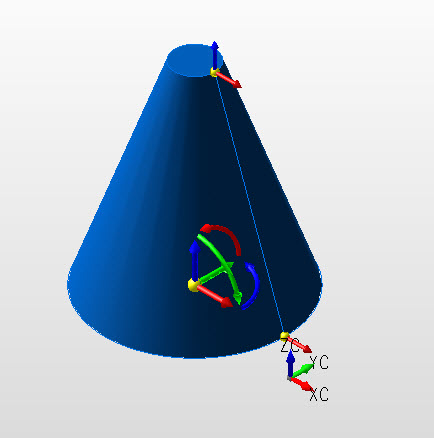
NOTE: Color is system color indicates in edit state. Choose OK to accept or Backup to create another cone.:
