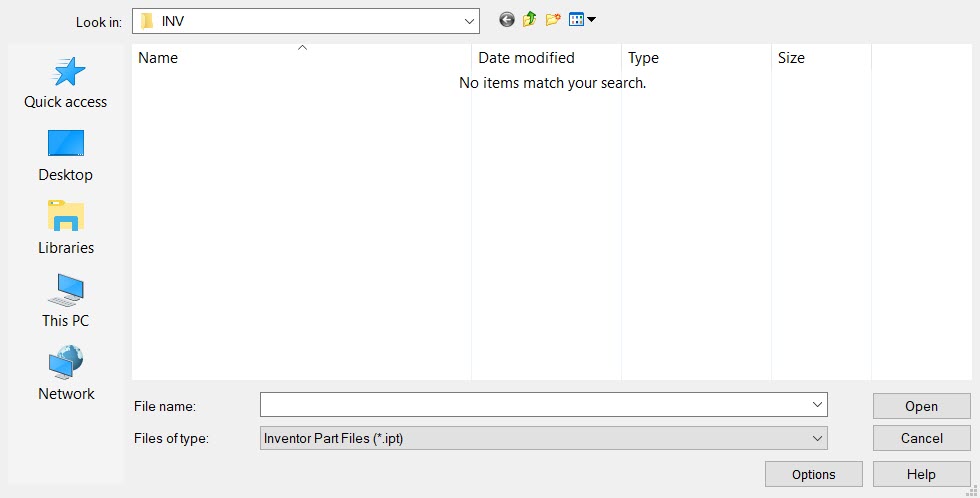
Importing an Autodesk Inventor® FileKeyCreator / File / Import / Autodesk Inventor Import / Importing an Autodesk Inventor® File (1)Importing an Autodesk Inventor® FileFollow the steps below to import an Autodesk Inventor file (*.ipt).
Importing an Autodesk Inventor File:
Inventor Import OptionsDirectory Location of Parts Referenced by AssemblyChoose which method best fits the import of referenced files into the import process. Free SurfacesChecked on will import all free surfaces (G0 surface condition) contained in the Inventor file. WorkplanesChecked on will include all inventor defined workplanes on import. Blanked (Hidden) EntitiesChecked on will include all Inventor blanked entities. Note that unless the blank translated entities is checked, all previously Inventor blanked entities will show as non hidden in the level list. |