KeyCreator / Modify / Solid Face / Taper Faces
Use this local edit function to taper faces of a body. You can taper with respect to an edge on the face, or with respect to a reference plane. This operation is also referred to as adding draft to a face. Using the Function:
Dialog Options:
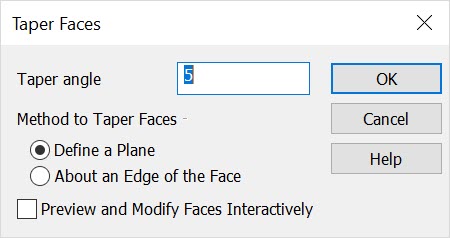
When Taper Faces is selected, a dialog appears. You can disable the dialog and work interactively using the incremental options by selecting the Preview and Modify Faces Interactively setting. If you prefer to work through the dialog, leave the setting unchecked. The available settings are discussed below: Taper AngleSpecify a value for the taper angle. Method to Taper FacesSpecify the method by which the faces will be tapered from the available options: Define to Plane or About an Edge of the Face. Preview and Modify Faces InteractivelyWhen checked, the original and modified solids will be displayed in shaded mode, and one of the two is drawn transparent. The dialog will exit when you select OK, and you will be able to work interactively using the incremental menu. Below > A face transformed using this function.
HINT: When selecting faces to taper, you should limit the face selection to the same body as the edge used for the draft axis. While the taper in the example above has caused a lot of change to the shape of this solid body, there has been no change to the topology of the model. There remains the same number of faces, edges, and vertexes after the edit as before, and the relationship between each pair of faces as they intersect to form the edges of the model is also left unchanged. 
Below > The solid from the previous example (with the Before label) has been transformed using the indicated line to define a draft angle reference plane. The line just defines a draft angle reference plane per pendicular to the line. Usually the draft angle can be referenced of off one of the standard X, Y, or Z planes (system planes 5, 2, and 1 respectively), that is, the system plane #1 is usually called the X-Y plane and sometimes called a Z plane.
|