KeyCreator Prime / Solid / Add Feature / Holes / Counterbored Hole

To create a counterbored hole, enter the information about the feature in this dialog box. Your selections will be reflected in the Preview window.
If you wish, you may click the KEY-IN button (at the bottom of the dialog box) in order to enter the parametric values for the feature manually.
Dialog Options:
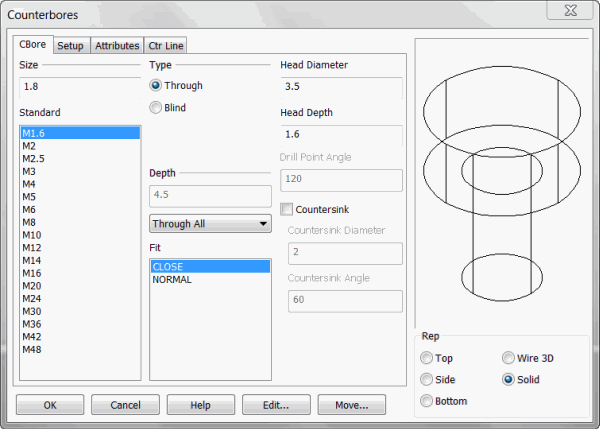
Size
Pick a Size for the hole from the list of Standards, or enter a size in the text field.
Type
-
Through - A through tapped hole is a tapped hole that extends completely through to the bottom surface from the top surface on which it is created. Note that through does not mean that the feature will automatically go all the way through the part. It means that the representation for the feature will not include a drill point. Through is not indicating depth.
-
Blind- This type will have a drill point angle representation and the Depth options will apply.
Head Diameter
Input the top head diameter for the counterbore representation if the standard input is not the intended diameter.
Head Depth
Input the top head depth for the counterbore representation if the standard input is not the intended depth.
Drill Point Angle
When the Blind type is chosen the drill point angle will be available to edit as needed.
Countersink
Choose whether or not to add a countersink to the counterbored hole by clicking the Countersink check box. The countersink will appear as a chamfer between the bottom of the counterbore and the top of the shaft. Input for both the countersink angle and diameter are available and will be applied to the chamfer representation.
Depth
Choose a Depth for the hole. You can Key-in a depth in the text field or click on the pull down list for more options. For the Through Type the last three options become available (through all, up to next face and up to face) Your other choices are:
-
Line - Select an existing line. The line's length will be used as the feature's depth.
-
2 Pts. - Choose two points to indicate the depth. The feature's depth will be the distance between the two points.
-
Plane - Select a plane to indicate the feature depth. The depth will be the distance from the current construction plane to the selected plane. The selected plane must be parallel to the XY plane of the current Cplane.
-
Through All - Choose this option to make holes through all apposing faces (after selecting the start face.)
-
Up to next face - Choose this to pick a face that has an apposing face you wish to stop at (you will be prompted for a face to start and then a face to stop.)
-
Up to face - This option will place the hole through multiple apposing faces after choosing the initial face and will stop at a chosen stop face.
Fit
-
Close - A close fit is normally used for one of two situations. It may be used for those lengths of screws that are threaded to the head in assemblies where only one screw will be used. It may also be used where two or more screws will be used and the mating holes are to be produced either at assembly or by matched and coordinated tooling (e.g., 0.266 inches for 1/4).
-
Normal - A normal fit is intended for longer screws or for assemblies involving two or more screws where the mating holes are to be produced by conventional tolerancing methods. It provides for the maximum allowable eccentricity of the longest standard screws and for certain variations in the parts being fastened. Some examples are deviations in hole straightness, angularity between the axis of the tapped hole and that of the hole for the shank, differences in center distances of the mating holes, etc.
Rep
Choose a Representation (view) for the feature: Top, Side, Bottom, Wire 3D or Solid. Wire 3D and Solid representations are created in the -ZV direction.
For information on the other tabs in the dialog see Setup, Attributes and CTR line
|