KeyCreator Drafting / Mechanical / Hole / Reamed Hole
To create a reamed hole, enter the information about the feature in this dialog box. Your selections will be reflected in the Preview window. If you wish, you may click the KEY-IN button (at the bottom of the dialog box) in order to enter the parametric values for the feature manually. Dialog Options: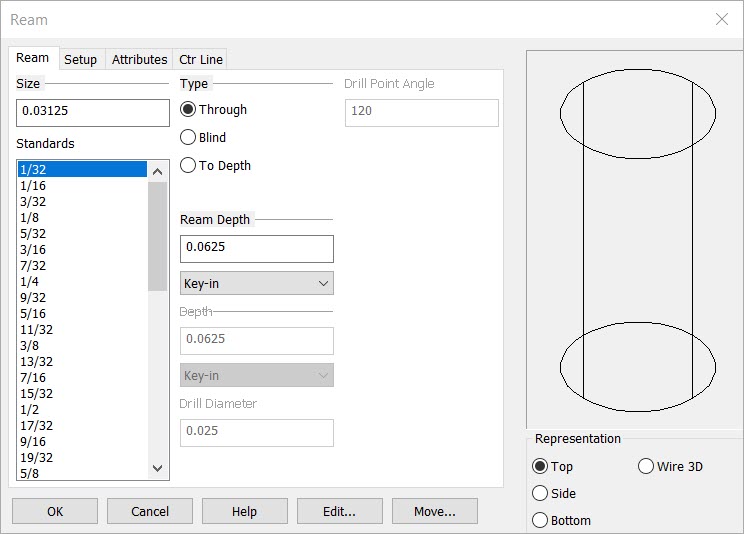
SizePick a Size for the hole from the list of Standards, or enter a size in the text field. TypeChoose from Through, Blind, or To Depth. If To Depth was selected, you may select a Ream Depth, otherwise this option will be "frozen." You may Key-in a depth or choose another option from the pull down list to specify the ream depth. These two options are described in the Depths section. Drill Point AngleSets the bottom angle of the drilled hole. When the Blind method is checked on manual entry is possible. Ream DepthChoose a Depth for the ream segment of the hole. You can Key-in a depth in the text field or click on the pull down list for more options. If the Blind type is selected you will get the additional secondary Depth options for the drill depth (through all, up to next face and up to face) as well as activating the Depth option. Your other choices are:
DepthChoose a depth for the overall depth of the hole. You can key-in a depth in the context field or click on the drop down for additional options (if no key-in value is entered and you don't choose one of the alternate methods from the drop down, then the through All will be the depth method. If the Type =To Depth you will see the last 3 choices as options (through all, up to next face and up to face.) Your other choices are:
Drill diameter:RepresentationSelect a Representation (or "view"): Top, Side, Bottom, Wire 3D. Wire 3D representations are created in the -ZV direction. For information on the other tabs in the dialog see Setup, Attributes and CTR line. |